I've been recently spending quite a bit of time in the DevOps space and working to build out better CI/CD pipelines, mostly utilizing Docker. In this post, I demonstrate building out a pipeline that will create a simple Docker image and push it to Amazon's EC2 Container Registry.
Pre-requisites
- Setup an AWS account
- Have a running instance of Jenkins
- Install Docker where Jenkins is running
Create the ECR Repository
- Log in to your AWS Console
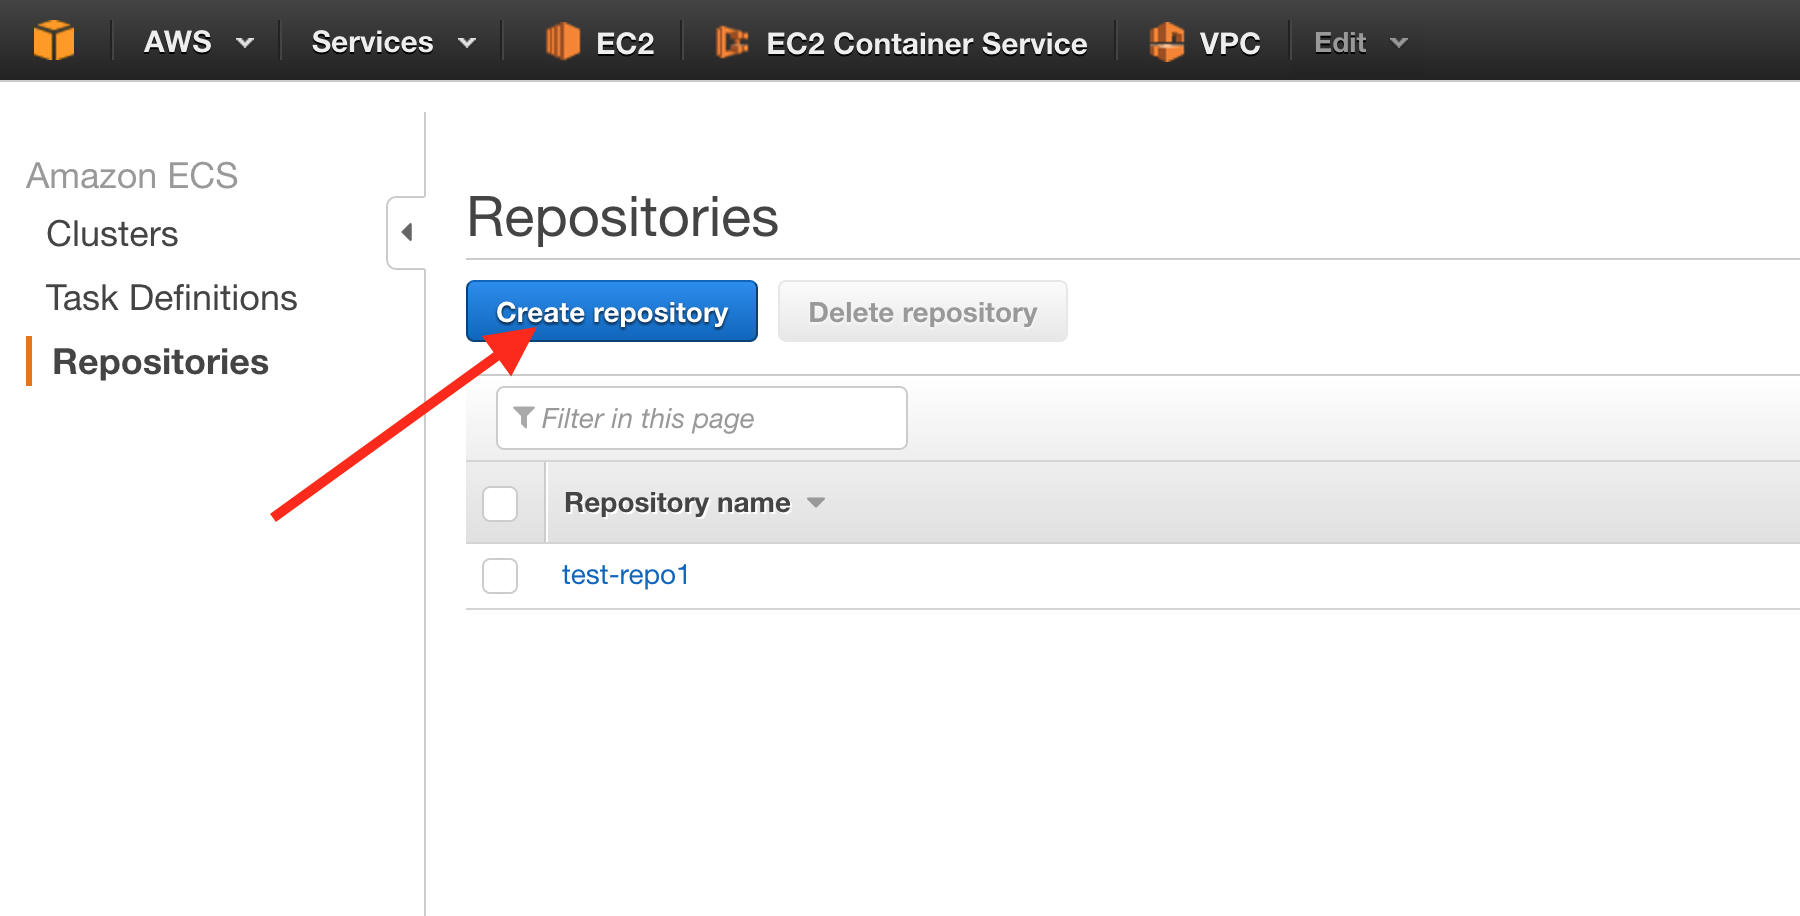
- Open the EC2 Container Registry service.
-
Click the Create repository button in the Repositories tab.
-
Give a name to your repository. For the demo, I'm using demo. Then, click the "Next" button.
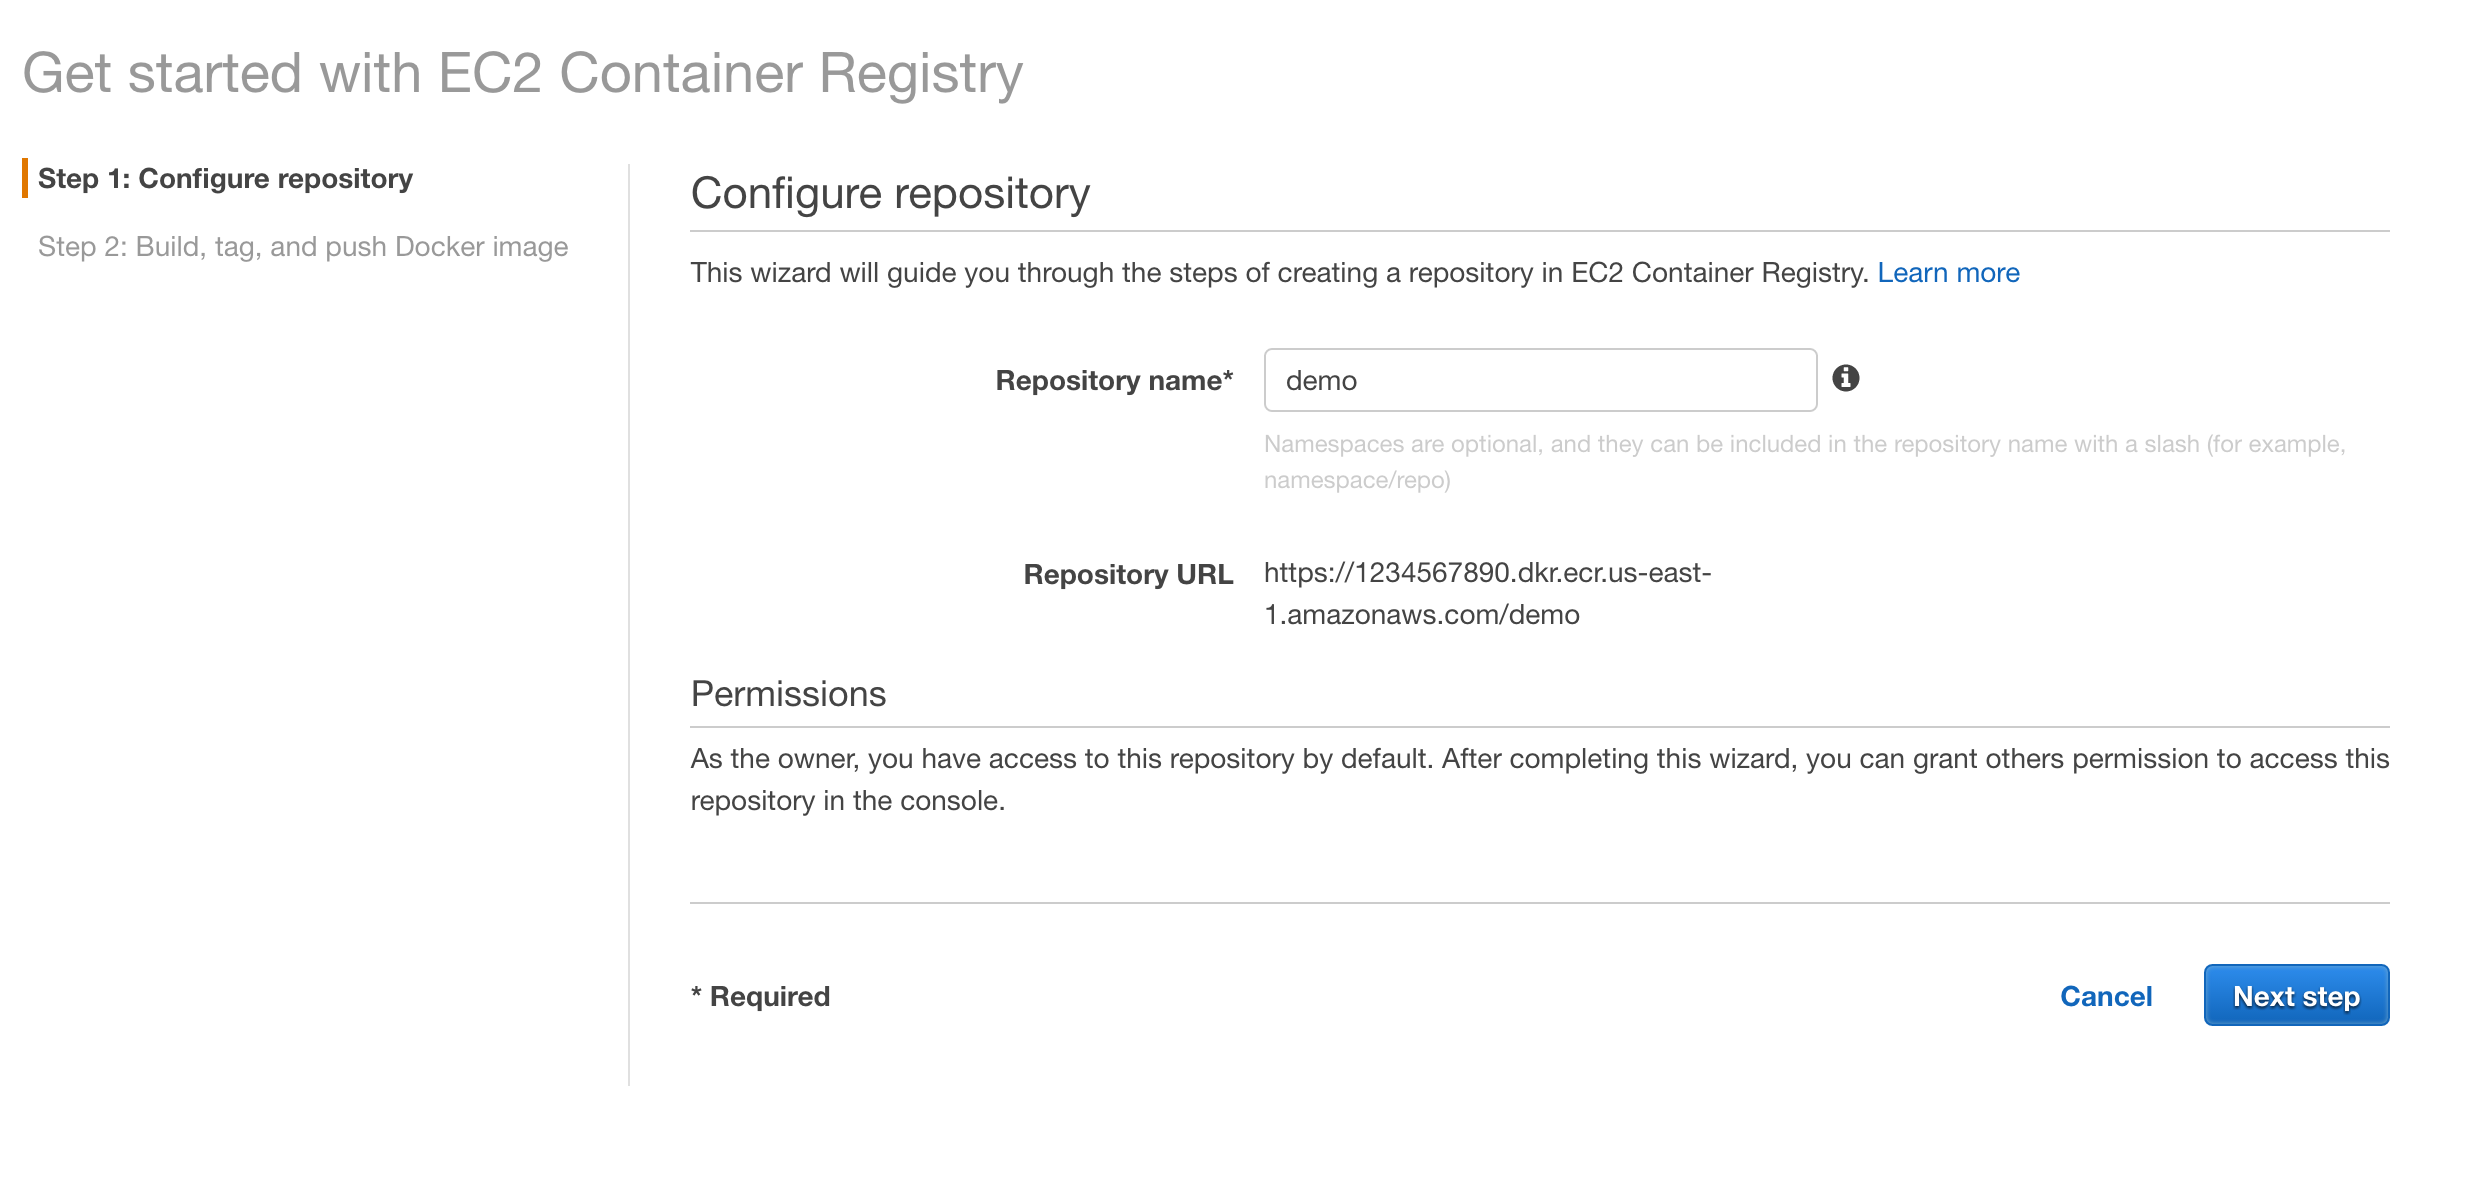
- The important thing to remember/make note of on the confirmation screen is the registry URL.

Create sample project
- Create a Git project somewhere that Jenkins can access (like GitHub). For this sample, we'll just make a simple "Hello World" PHP image (or use this one!)
- Create an index.php file with the following content:
<?php phpinfo();- In the project, create a Dockerfile with the following contents.
FROM php:5.6-apache
COPY index.php /var/www/html/- Test it out!
docker build -t php-hello-world .
docker run -ti -p 10080:80 php-hello-world
You should see a standard PHP Info screen at http://localhost:10080 (you may need to swap out localhost for another IP address if you're using Docker Machine locally)
Add AWS Credentials to Jenkins
- From the home screen, hit the Credentials link in the left-side bar.
- Determine where you want to put your credentials. If unsure, go into the Global credentials. You may want to do some reading on credential management for a production/widespread use.
- Click the Add Credentials link in the left-side navigation.
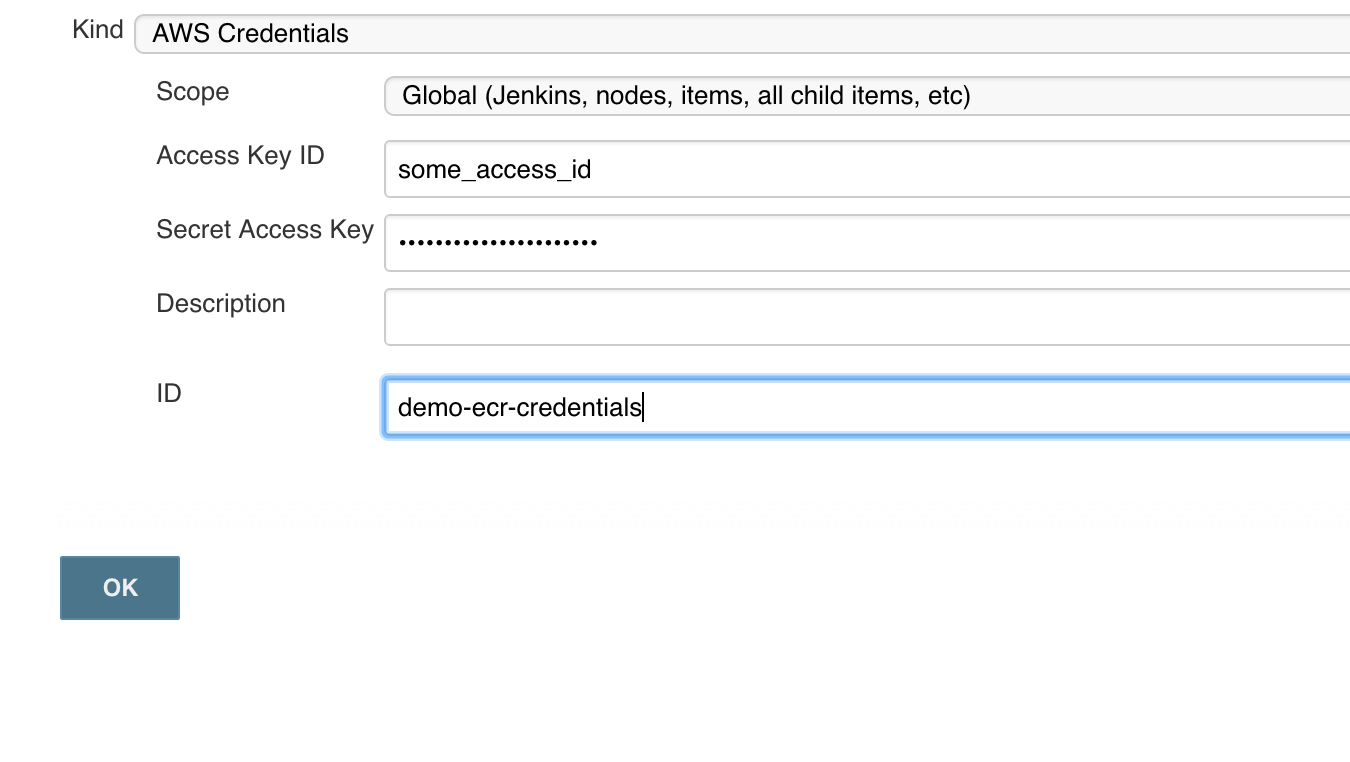
- For Kind, select AWS Credentials.
- Enter the Access ID and Secret Access Key for the AWS user that has access to the ECR repository.
- In the Advanced button, specify an ID that will make sense to you (so you don't have to remember a randomly generated UUID).
Creating the Jenkins Pipeline
- Install required plugins (if not already installed)
-
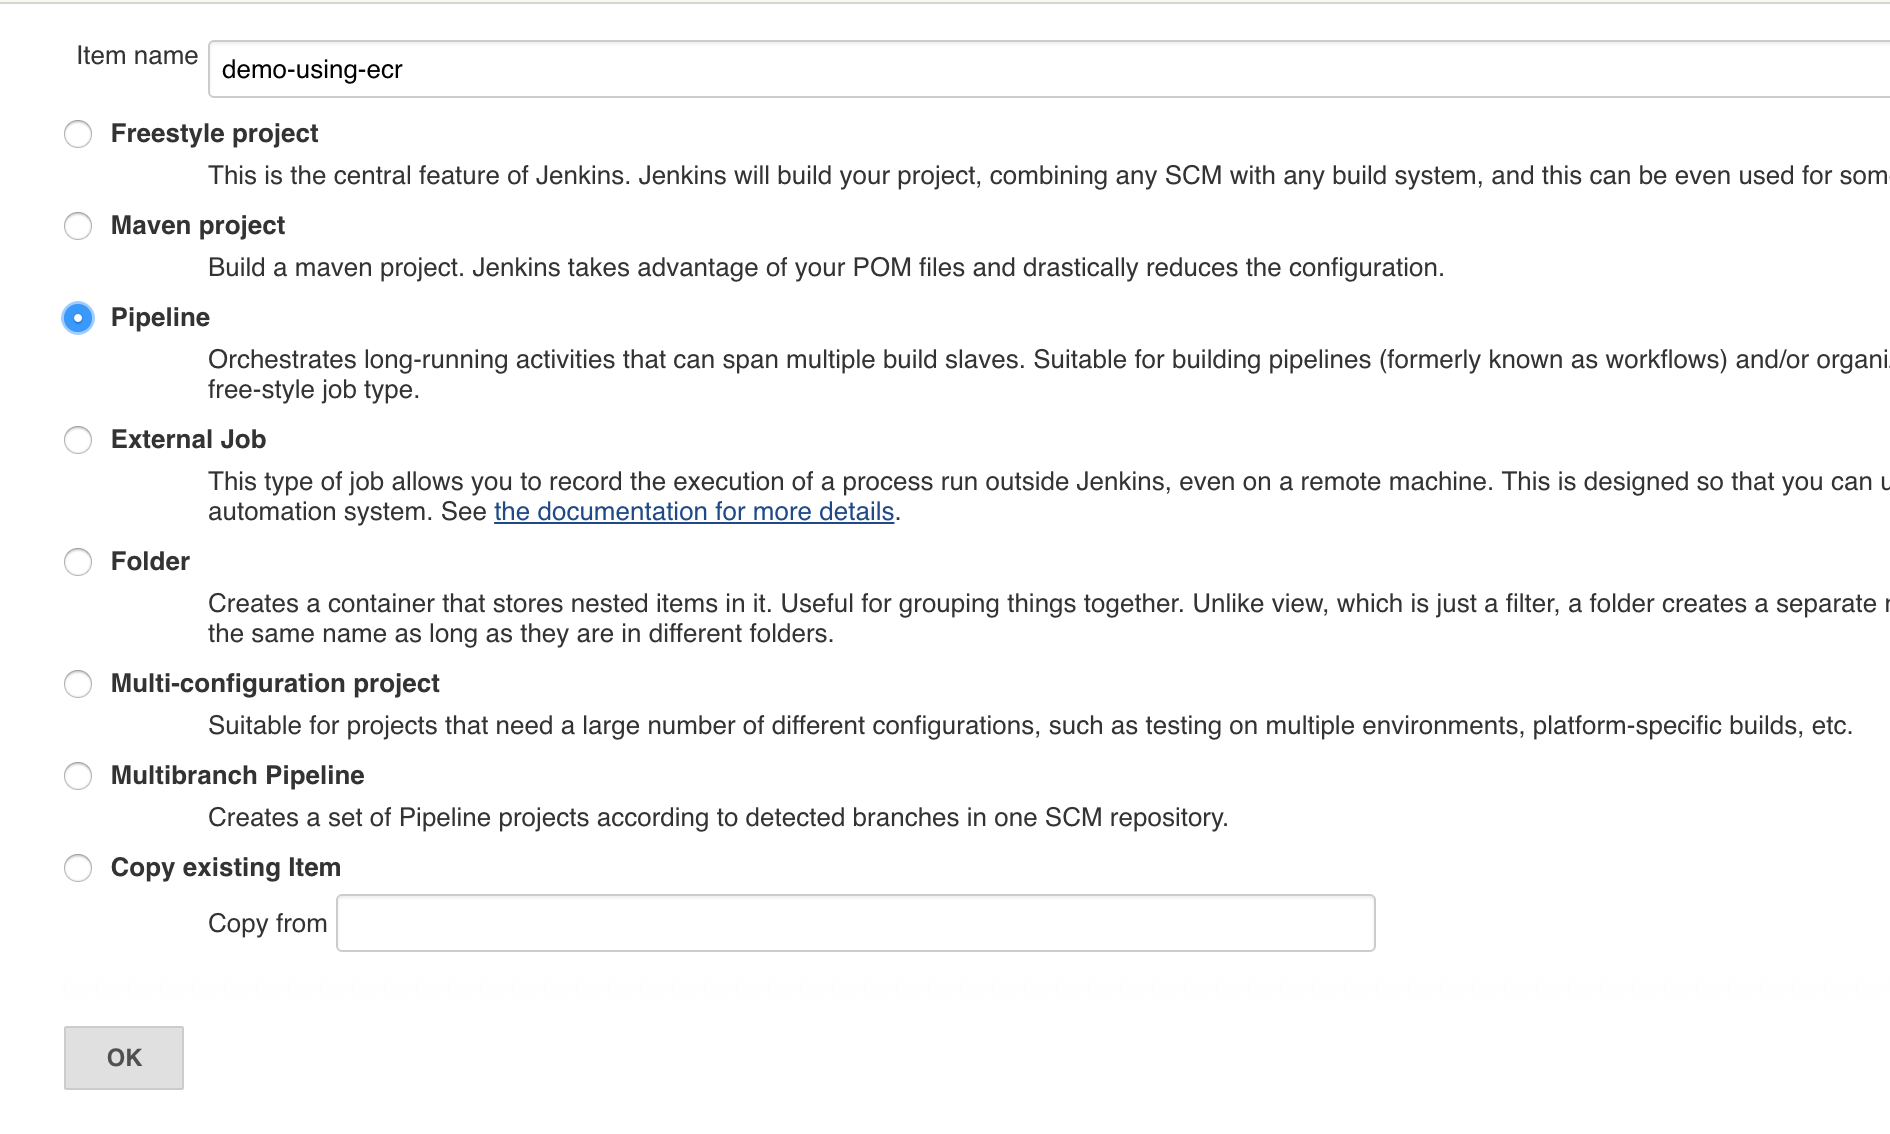
Create a new Jenkins job, of type "Pipeline"
- Write out your Groovy script!
node {
  stage 'Checkout'
  git 'ssh://[email protected]:irwin-tech/docker-pipeline-demo.git'

  stage 'Docker build'
  docker.build('demo')

  stage 'Docker push'
  docker.withRegistry('https://1234567890.dkr.ecr.us-east-1.amazonaws.com', 'ecr:us-east-1:demo-ecr-credentials') {
    docker.image('demo').push('latest')
  }
}
So, what's going on here? Here's the line-by-line…
- stage 'Checkout' - start a new stage for code checkout
- git 'ssh://[email protected]:irwin-tech/docker-pipeline-demo.git' - checks out the code from the repository. With this command, if you enable Poll SCM in the job config, it will poll this repo.
- stage 'Docker build' - sets up a new stage in the pipeline for the Docker image build.
- docker.build('demo') - performs a build using the local Dockerfile and tags the result as demo. The important thing here is that the image name must match the name of the repository you created in ECR.
- docker.withRegistry
- the first argument here is the URL for your ECR domain. Note that the repo has been stripped off from the end.
- the second argument is a credential to use when connecting. The ecr: provider prefix hooks in the Amazon ECR plugin and converts the access id and secret in the credential to the equivalent of
aws ecr get-login. This credential can then be used to push to the repository
- docker.image('demo').push('latest') - grabs the demo image, tags it as latest and pushes it to the registry
Conclusion
After running the Jenkins job, you should now have an image that's been pushed to Amazon's ECR. Since you're using the Pipeline plugin, the build occurs in multiple stages with each stage doing one thing. If you install the Pipeline: Stage View Plugin, you can have a pretty job report like this!
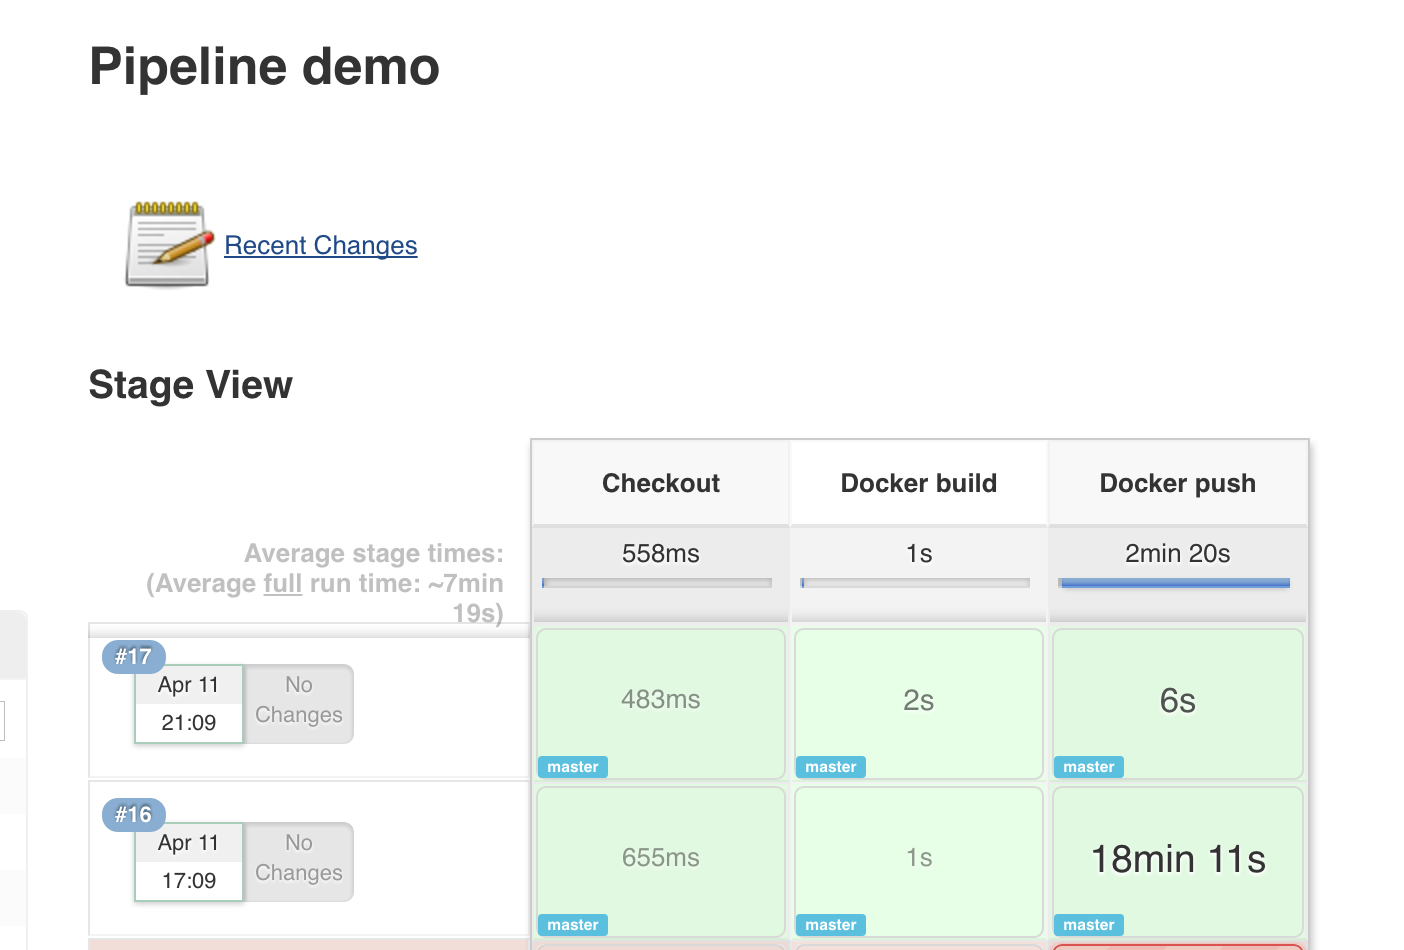
(in case you're wondering, the 18 minute time was because my home internet is TERRIBLY slow to upload large Docker images. Oops!)
If you've got other ideas, please let me know! I'm still learning, so would love to hear how others are using them.