
In case you missed it, DockerCon 2016 was amazing! There were several great features announced, with most of it stemming from orchestration is now built-in. You get automatic load balancing (the routing mesh is crazy cool!), easy roll-outs (with healthcheck support), and government-level security by default (which is crazy hard to do by yourself).
In case you're a little confused on how to spin up a mini-cluster, this post will show you how. It's pretty easy to do!
Setup the VMs
Before you freak out, this is super easy. I'm going to make three VMs - one to be the Swarm manager and two to be workers. With docker-machine, it only takes this…
docker-machine create -d virtualbox node-0
docker-machine create -d virtualbox node-1
docker-machine create -d virtualbox node-2
Optional, but recommended - setup host entries
To make it easier to open each node in the browser, I update my /etc/hosts to resolve each node's IP address.
To get the IP address, run:
docker-machine env node-0
The output looks like:
export DOCKER_TLS_VERIFY="1"
export DOCKER_HOST="tcp://192.168.99.100:2376"
export DOCKER_CERT_PATH="/Users/mikesir/.docker/machine/machines/node-0"
export DOCKER_MACHINE_NAME="node-0"
Pull the IP address from DOCKER_HOST and throw it into /etc/hosts. Mine looks like this…
192.168.99.100  node-0
192.168.99.101  node-1
192.168.99.102  node-2
Now, when you open http://node-0/, it'll connect to the VM named node-0, although there's nothing to look at yet. Cool! Now, let's get something actually up and running on it.
Setup the Swarm Cluster
To setup the Swarm cluster, we only need to run a few commands. Here we go…
Setting up the Manager
docker-machine ssh node-0
docker swarm init --listen-addr=192.168.99.100:2733 --advertise-addr=192.168.99.100:2733--advertise-addr=192.168.99.100:2733Replace the listen-addr IP address for node-0's IP and boom! That's it! You should see output like this (with a different node id)…
Swarm initialized: current node (ecxc2ie73p9i4yubwcgdkuxgy) is now a manager.

To add a worker to this swarm, run the following command:

  docker swarm join \
  --token SWMTKN-1-some-random-token-string \
  192.168.99.100:2733

To add a manger to this swarm, run 'docker swarm join-token manager' and follow the instructions.
Copy the command, as we'll use it to allow our workers to join the swarm.
Setting up the Workers
In a new terminal tab, run the following to setup node-1 as a worker:
docker-machine ssh node-1
[Paste the earlier command from the swarm init]
If it worked right, you should then see the following:
This node joined a swarm as a worker.Now do the same for node-2 and you're all done!
docker-machine ssh node-2
[Paste the ealier command from the swarm init]
To see the nodes in your cluster, try this from the manager node (node-0):
> docker node ls
ID                           NAME    MEMBERSHIP  STATUS  AVAILABILITY  MANAGER STATUS
1u5su43i6sf91q57fa6hf8vj8    node-2  Accepted    Ready   Active
2leonjmjrhq1t0j1iu0wezda7 *  node-0  Accepted    Ready   Active        Leader
7kt4n4fih9s07p3sw51mwsnli    node-1  Accepted    Ready   Active
Start up a service
Services are a new concept in core Docker with version 1.12. Rather than trying to define it here, go check out their docs. But, at the end of the day, a service allows us to define a desired state for a task. In this case, it's a desired state around containers (although they did say the idea could be extended to support other types of tasks… hope to learn more about that).
docker service create --name demo -p 8000:5000 mikesir87/catsAnd with that BOOM! A service is running. To see what's going on…
> docker service tasks demo
ID                         NAME    SERVICE  IMAGE           LAST STATE         DESIRED STATE  NODE
ad9rg8g60ufaepjndb7ub00g5  demo.1  demo     mikesir87/cats  Running 5 seconds  Running        node-1
In this case, you see that the image is currently running on node-1. So, open http://node-1:8000 and you should see the app.
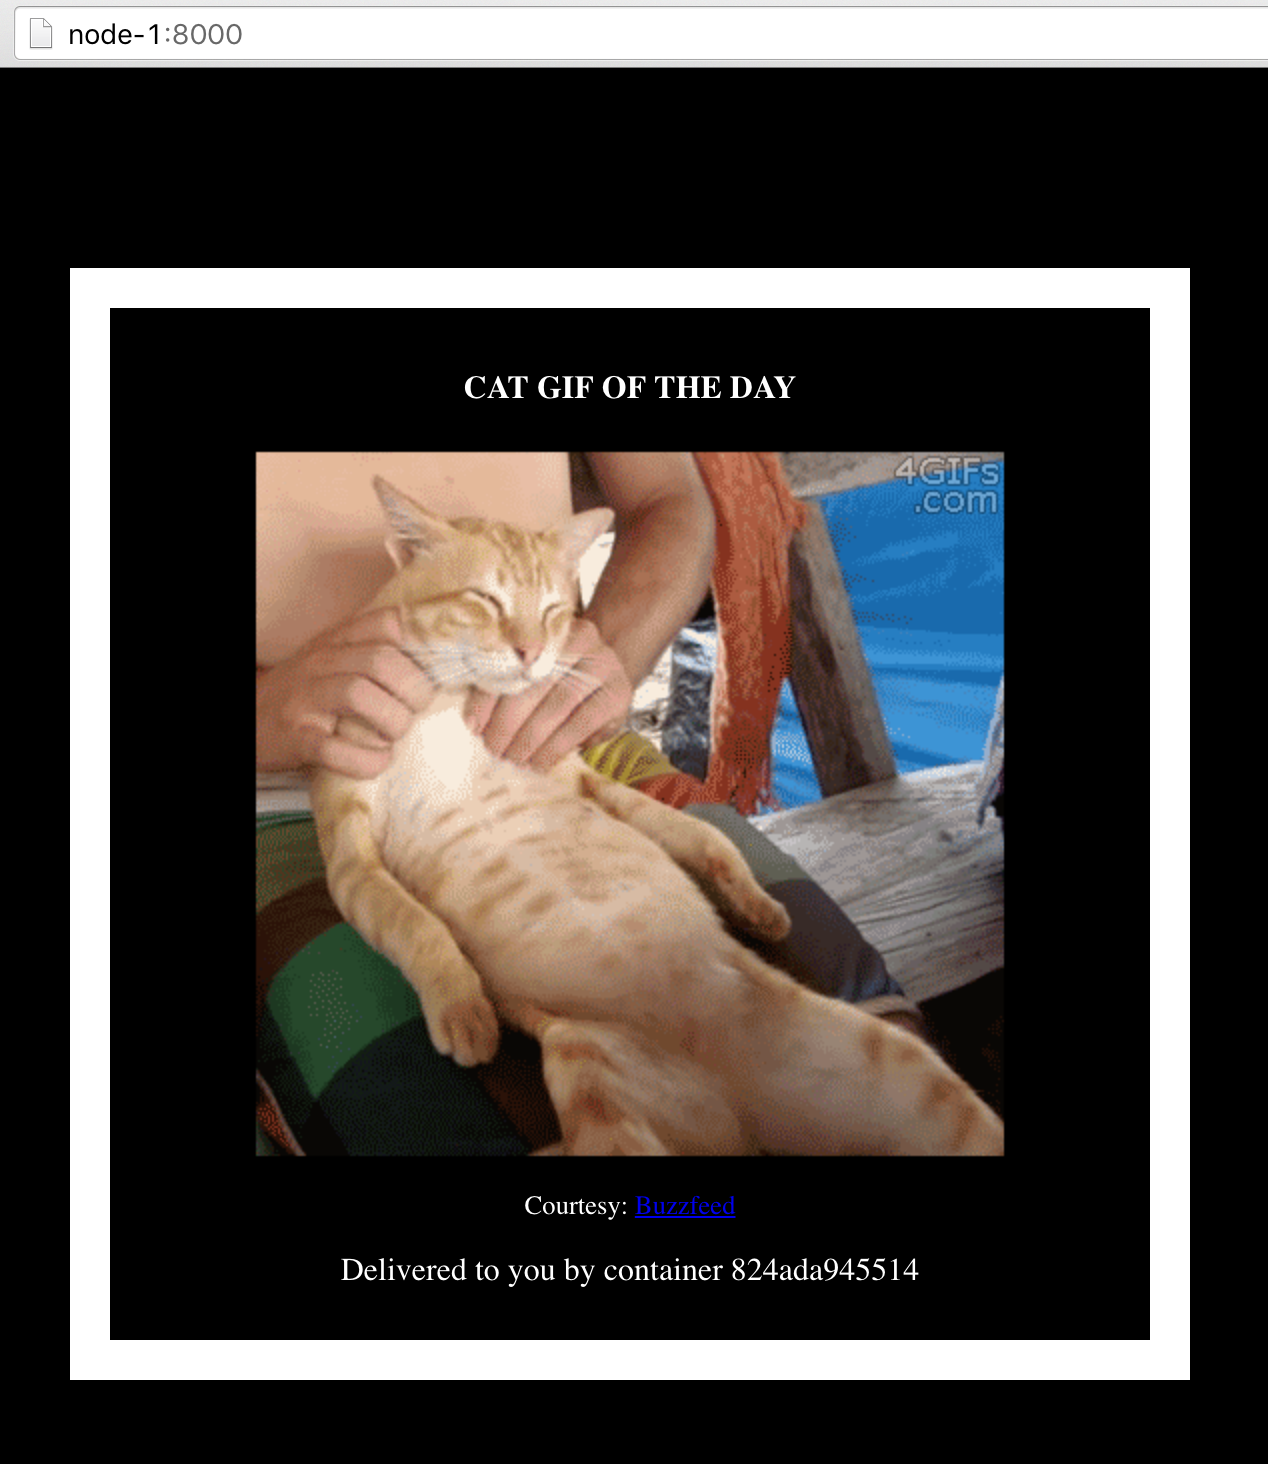
Now, try to view it from http://node-0:8000. Bam! It works too! That's because of the super awesome routing mesh that's built into the swarm cluster. You'll notice that the container ID on the page stays the same.

Scale up the service
Our cat is starting to get traffic. Let's scale it up now.
docker service update --replicas=3 demoAnd with that, two more containers will be spun up. To validate, let's check the tasks…
> docker service tasks demo
ID                         NAME    SERVICE  IMAGE           LAST STATE          DESIRED STATE  NODE
ad9rg8g60ufaepjndb7ub00g5  demo.1  demo     mikesir87/cats  Running 13 minutes  Running        node-1
1pdiukvyo9d9ypmzwjg6ahku5  demo.2  demo     mikesir87/cats  Running 4 seconds   Running        node-0
24l1zkz1lvgz65qj1pg4pkcue  demo.3  demo     mikesir87/cats  Running 4 seconds   Running        node-1
Now, if you open http://node-0:8000 and refresh, you'll see the container ID cycle through the running containers! Built in load balancing and scaling up (and down too).
And with that, we're done! I'll cover more topics in an updated post (rolling out updates, healthchecks, etc.). So, stay tuned!